


HOW TO INSTALL THE ORACLE LINUX 8.2 (64 bit)
Posted by Mir Sayeed Hassan on July 27th, 2020
HOW TO INSTALL THE ORACLE LINUX 8.2 (64 bit)
Step by step procedure to perform the Installation of the ORACLE LINUX 8.2 (64 bit).
Oracle ISO can be downloaded from edelivery: https://edelivery.oracle.com/osdc/faces/Home.jspx & To download this Create an account or use your Oracle Support Login Credential.
Boot the ISO file by using the ILO or any other alternative method.
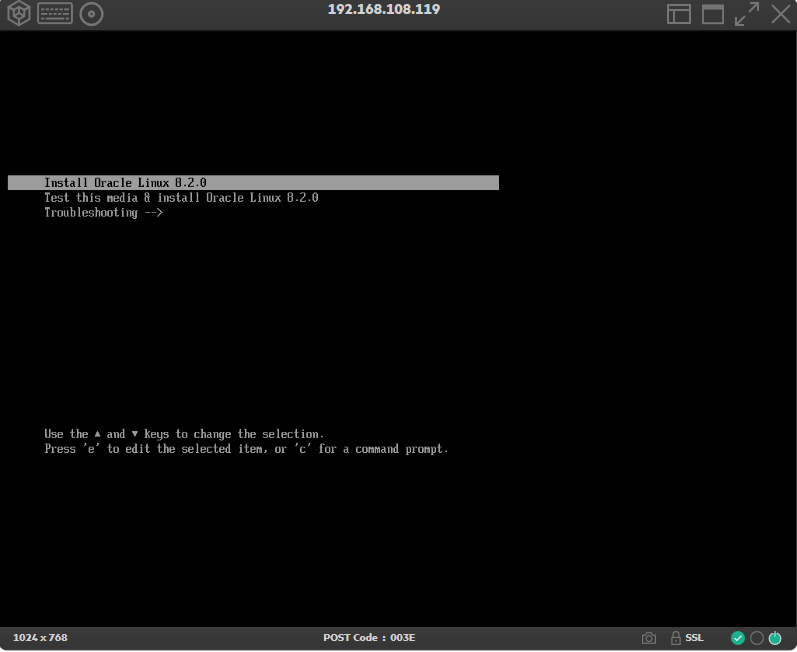
Select first option “Install Oracle Linux 8” and proceed further
Select the default language as English

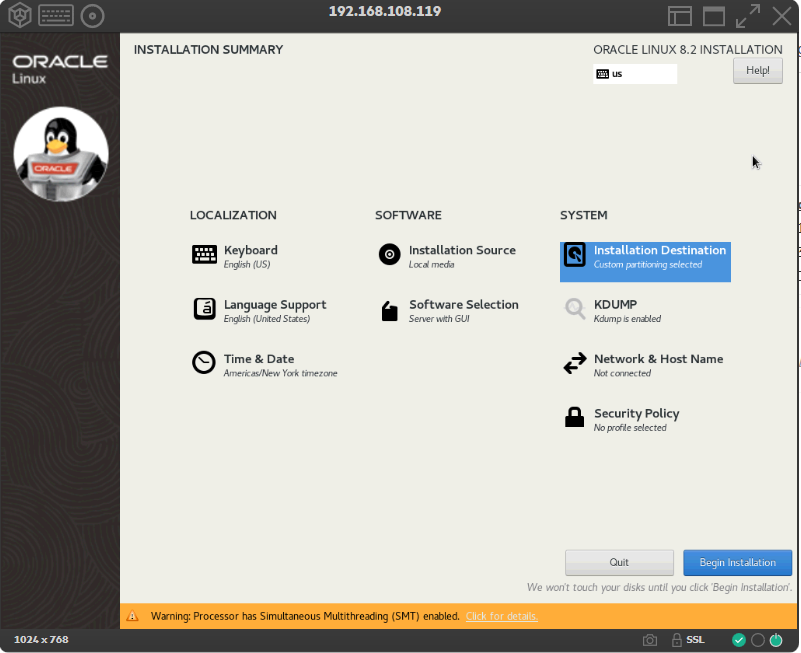
Here on Installation Summary, There are many options as shown below
Keyboard | Installation Source | Installation Destination | Language Support | Software Selection | KDUMP | Time & Date | Network & Host Name | SECURITY POLICY.
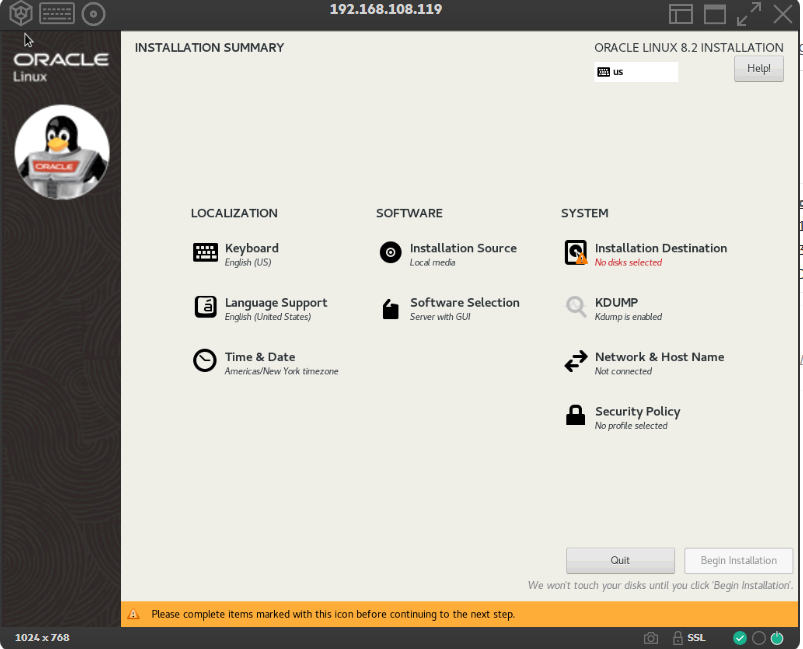
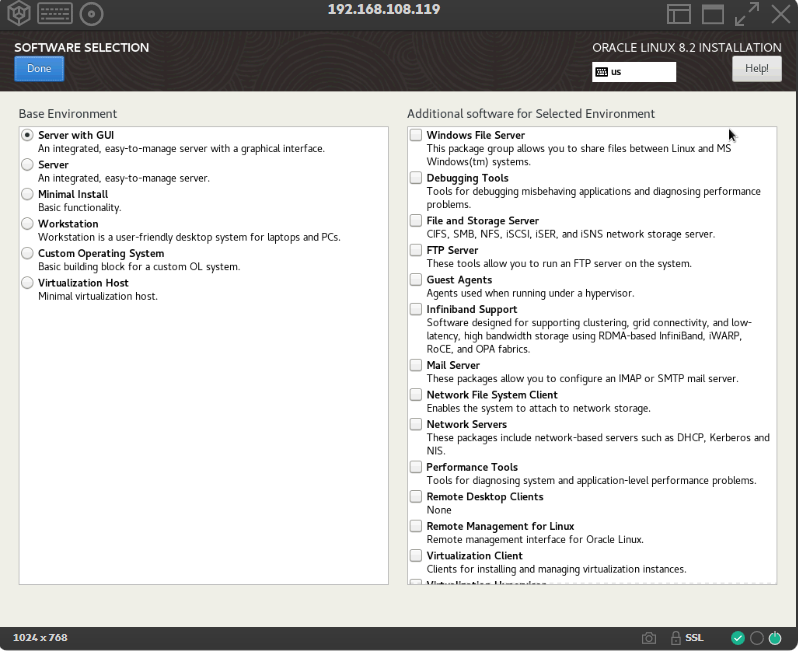
If you would like to add features, you can select it now or you can install later
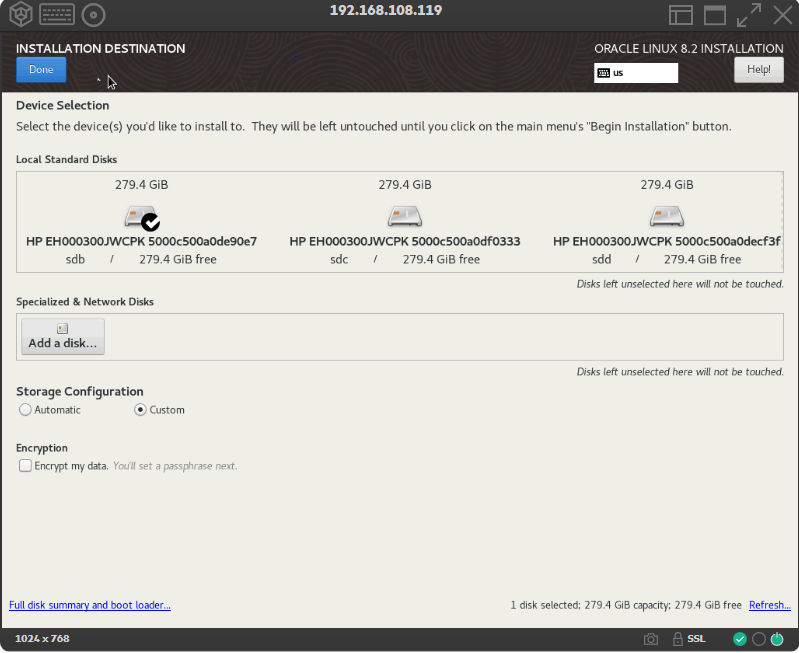
Select the appropriate disk to install Oracle, choose to customize & allocate the size manually.
Select the appropriate disk & do the custom partition as per your requirement
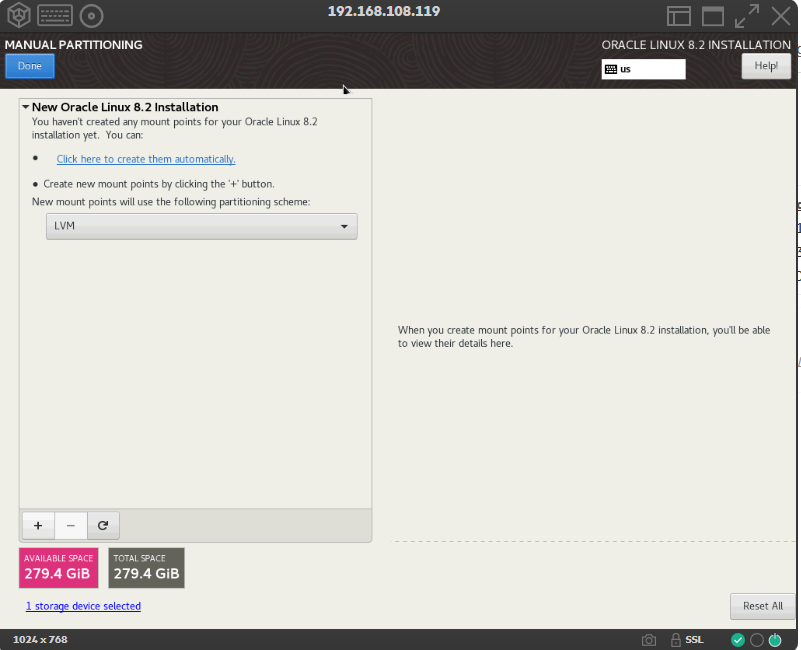
Note: In the above example, I have selected one disk out of 3 to configure.
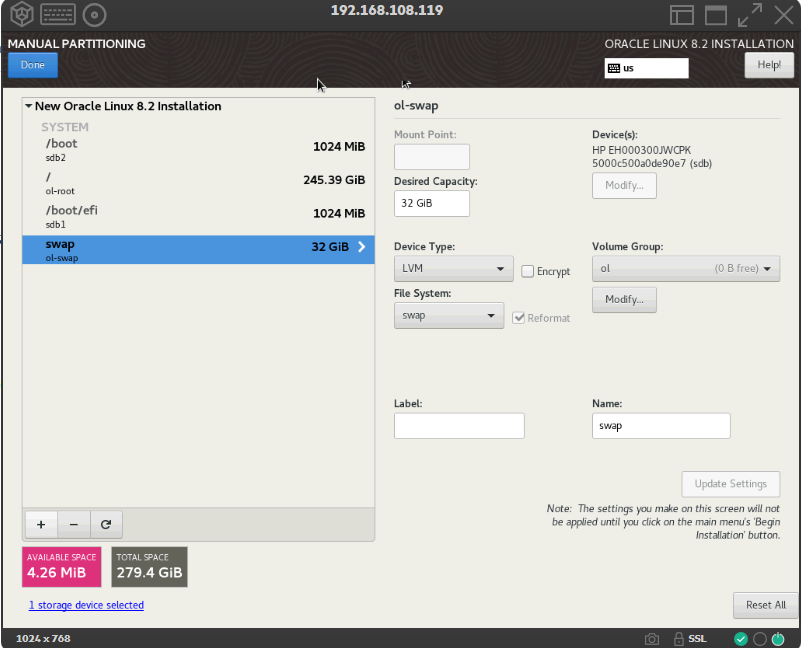
/boot file system with a minimum of 1 GB in size & make sure to choose EXT4 as your /boot partition file system
Allocated the size for boot, boot/efi, Swap & Rest for root.
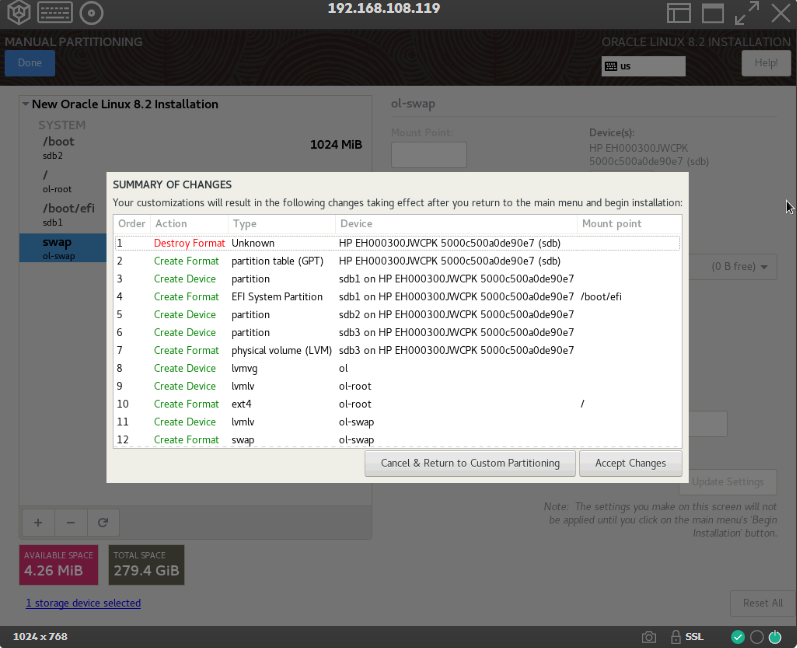
Here is a summary of the defined partition changes, Review for confirming the changes & proceed further.
Proceed with Begin Installation
The installation process is started & wait for few minutes to complete.
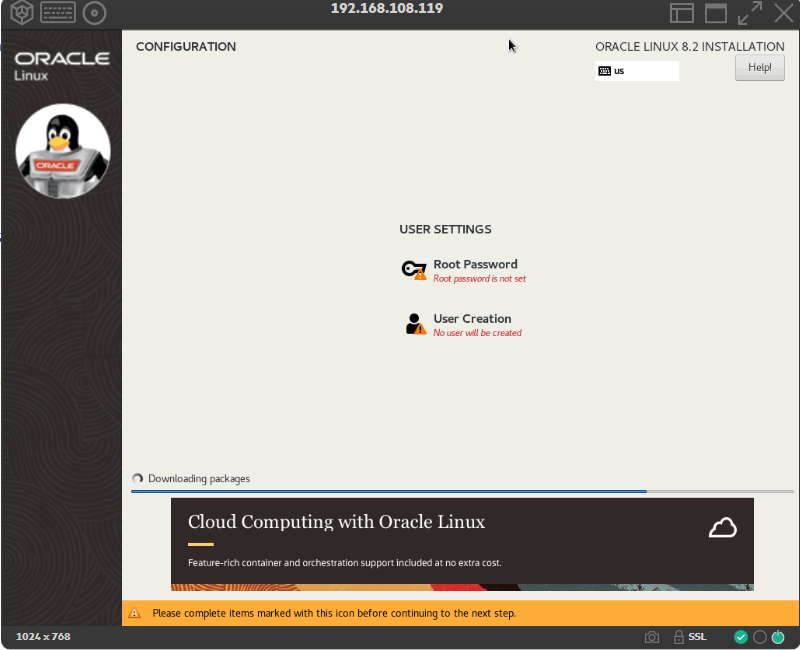
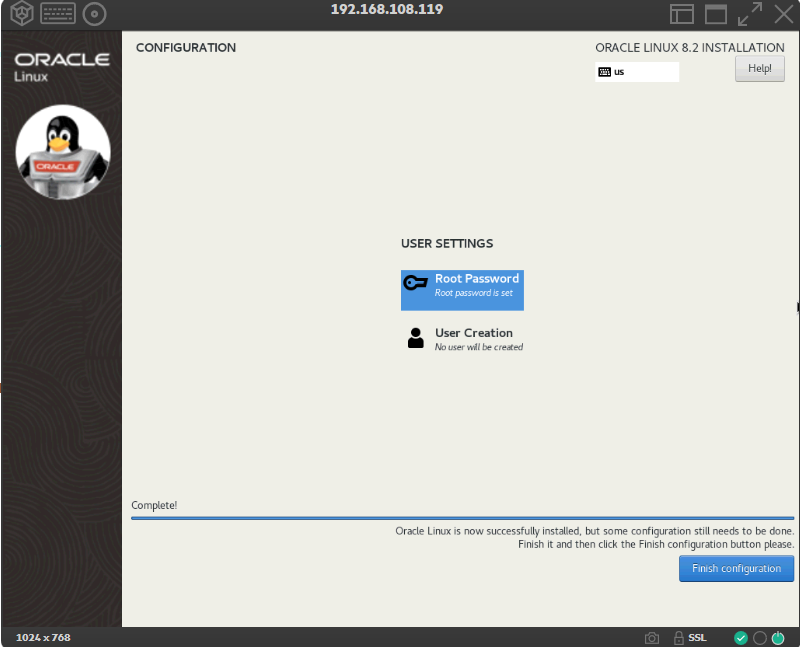
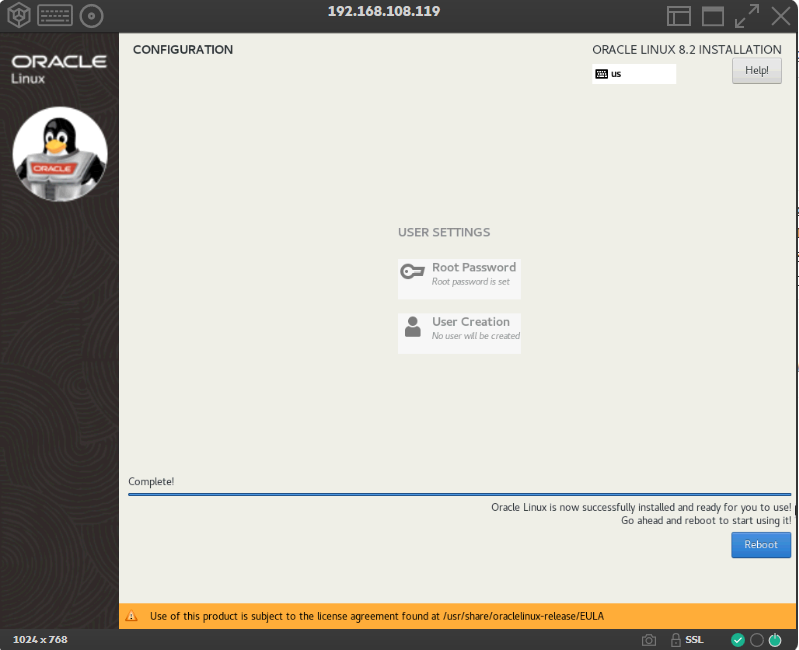
After the completion of the Installation, Assign the root ROOT Password & Finish Installation
Now REBOOT the server
After Reboot the server, Fallow the Initial Setup of Server
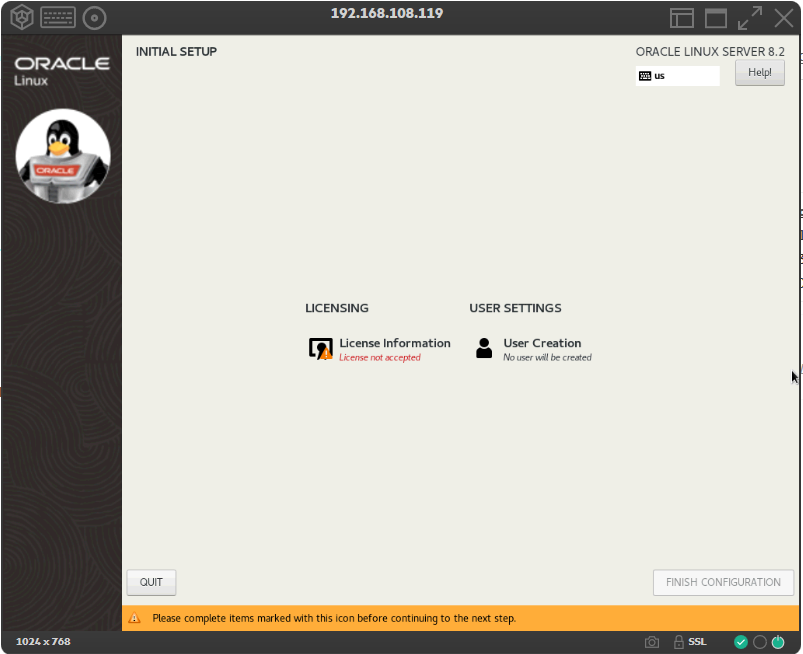
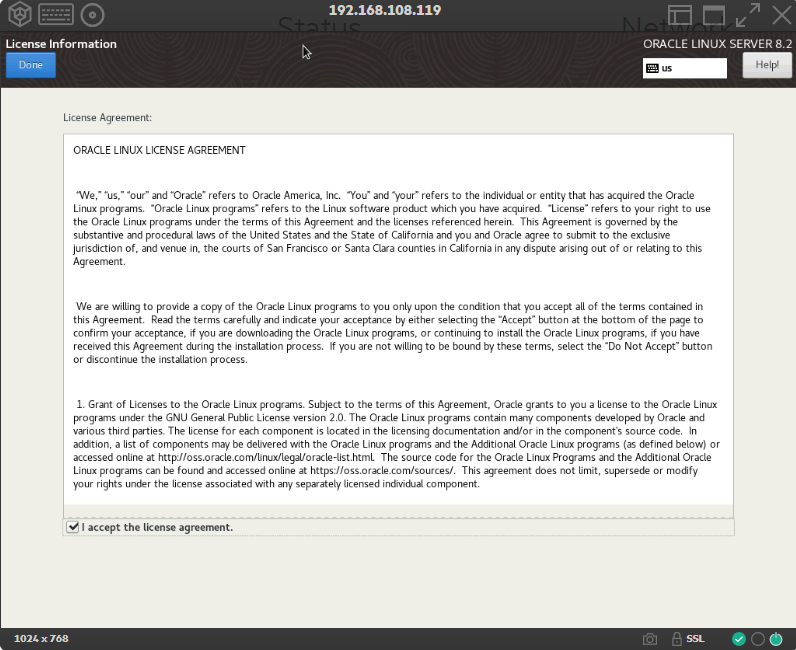
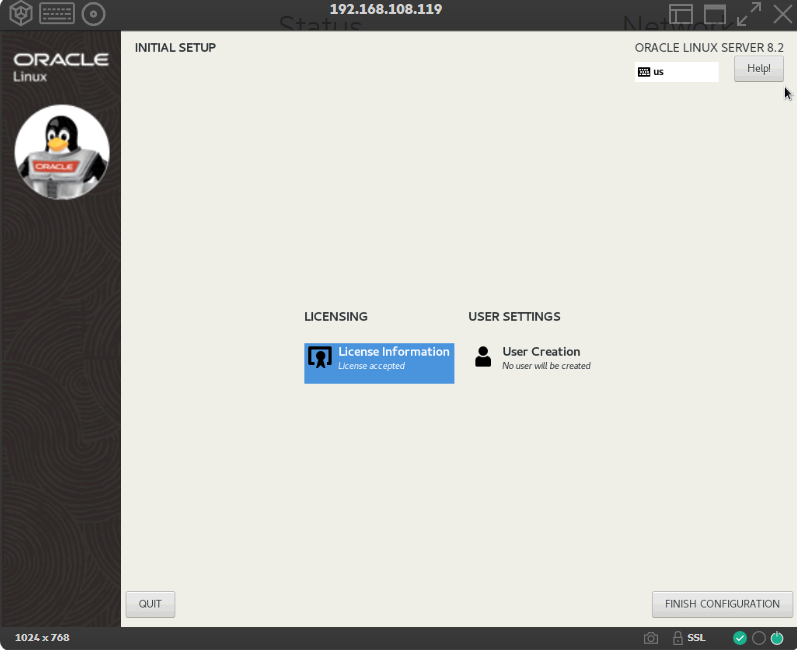
Accept “License agreement” then proceed with Finish Configuration.
After the License is accepted, Finish the installation again
POST INSTALLATION
Welcome to the Oracle Linux 8 Main page & Follow the below general steps

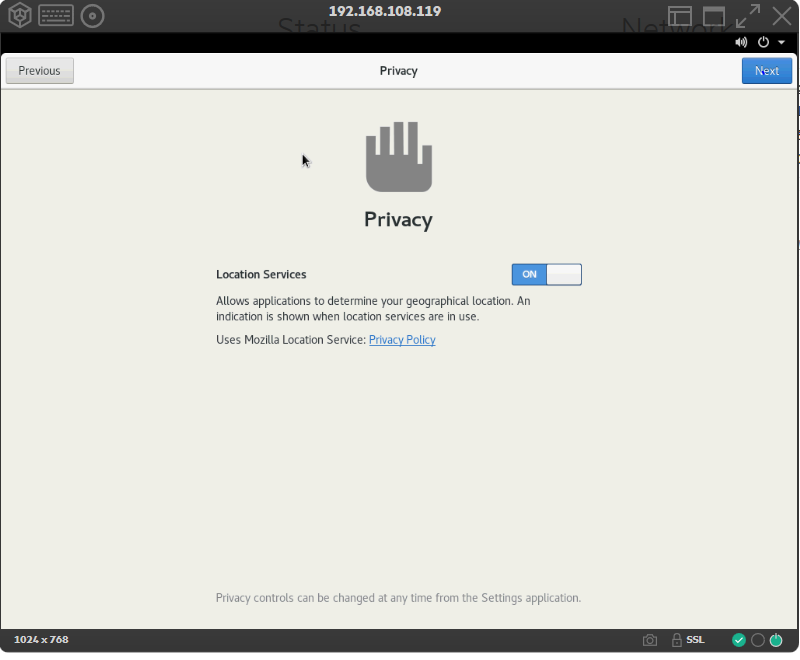
Set Privacy regarding location, Proceed “Next” to continue.
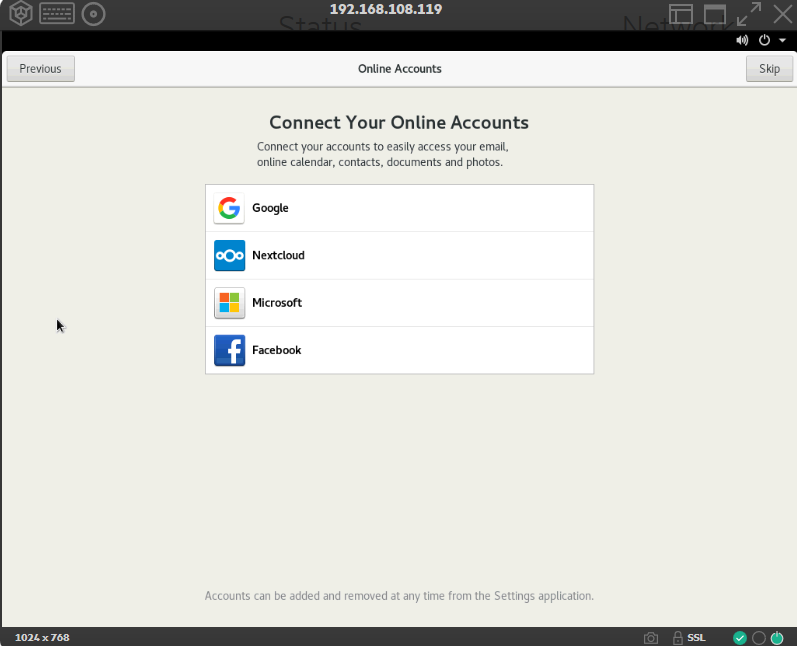
If you wish to add any of the cloud accounts add into it or proceed with Skip.
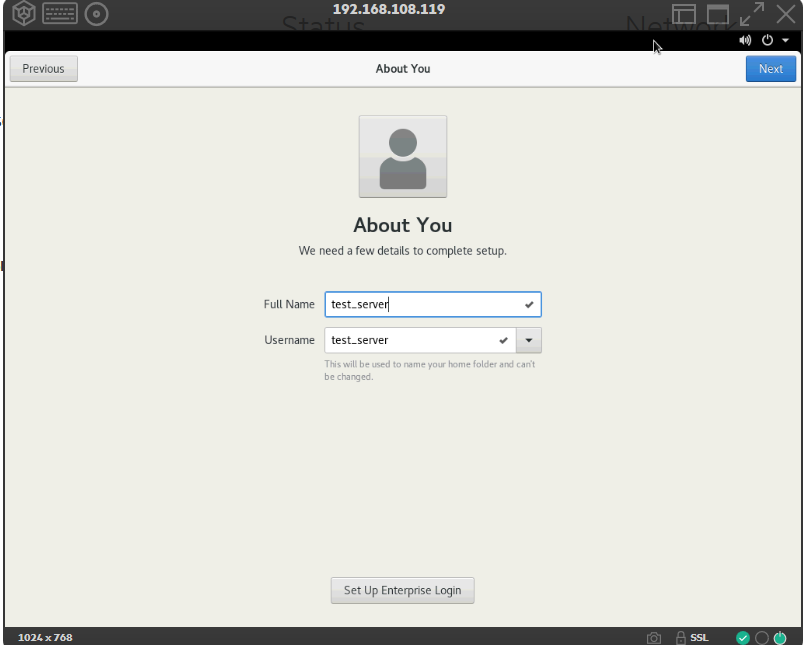
Assign the server name (This server name can be anything) & proceed
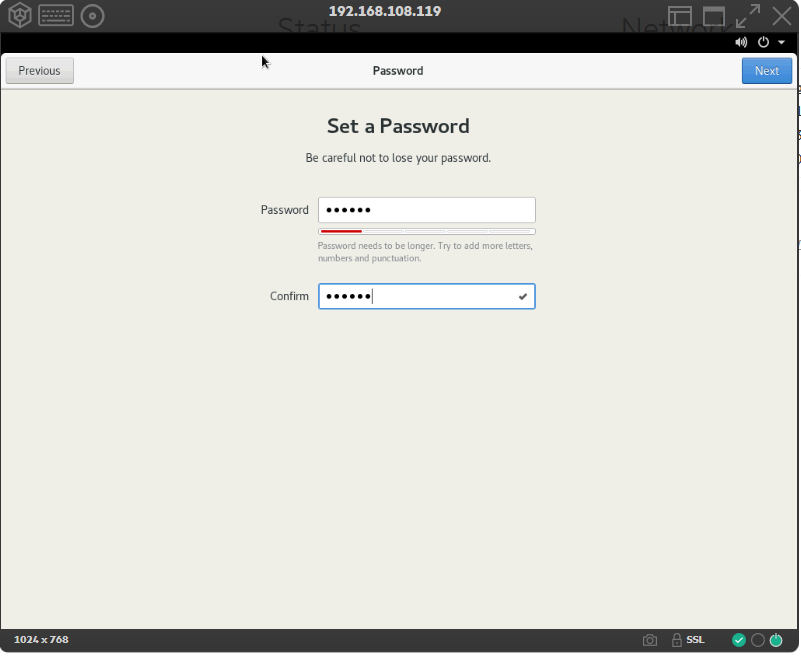
Assign the password for the server name allocated
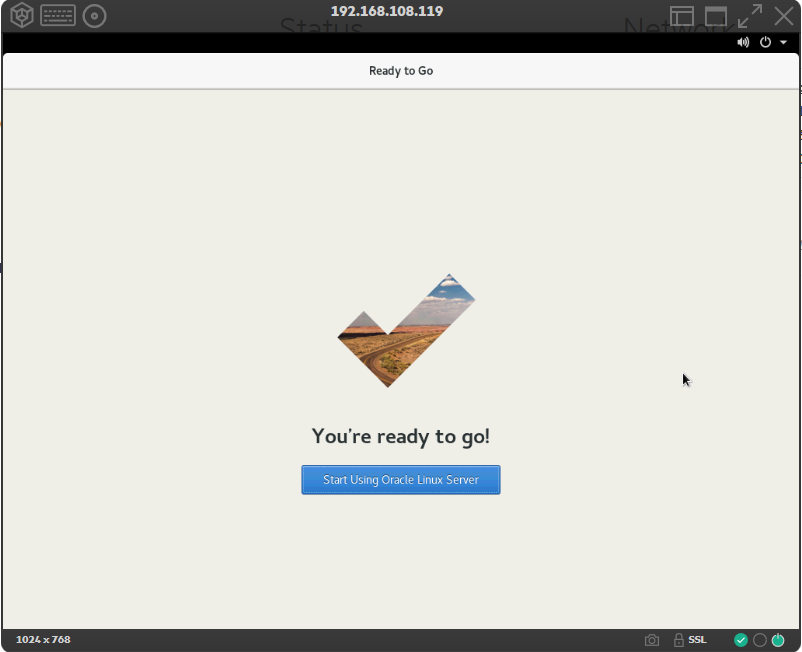
Hence the Installation process is completed.
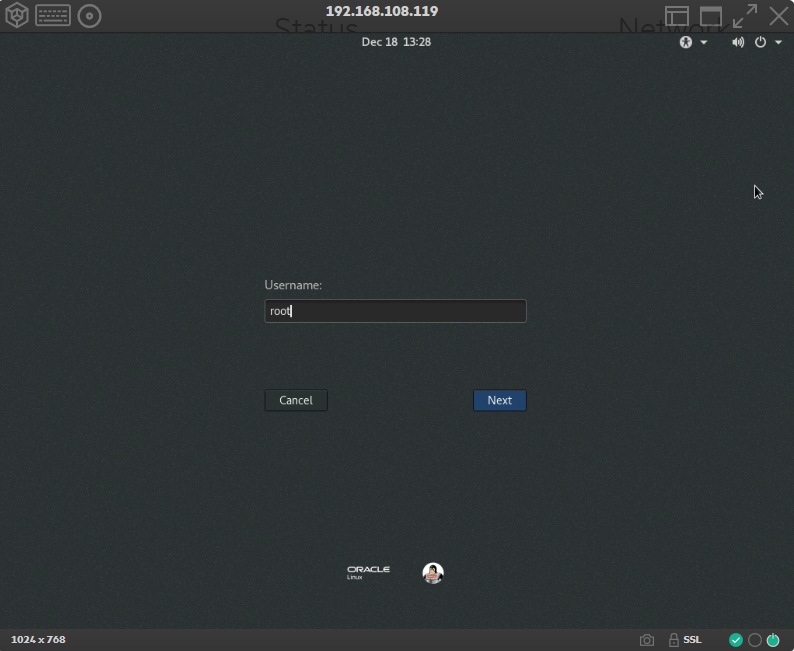
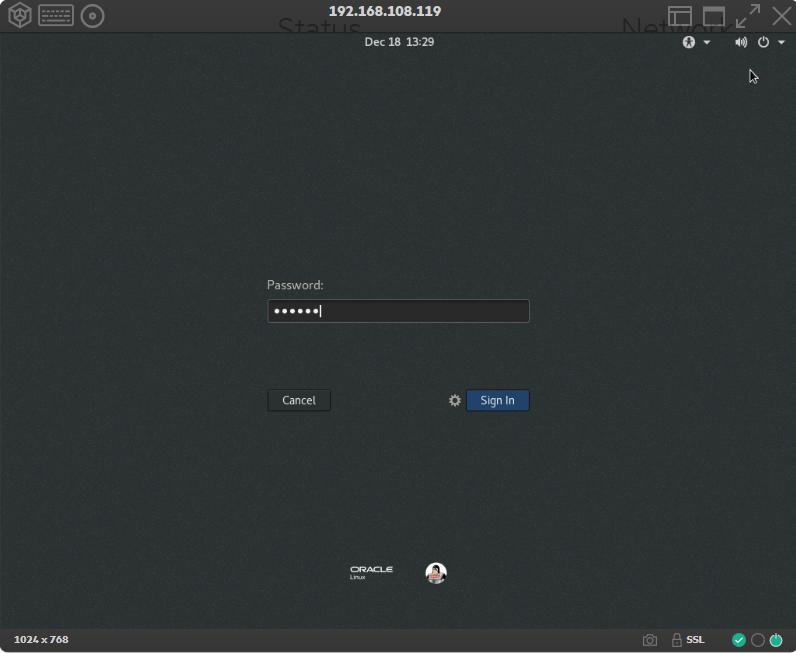
Now start login to the server by using ROOT & TEST
====Hence the Oracle Linux 8 is Installed Successfully on OEL8=====
NETWORK CONFIGURATION
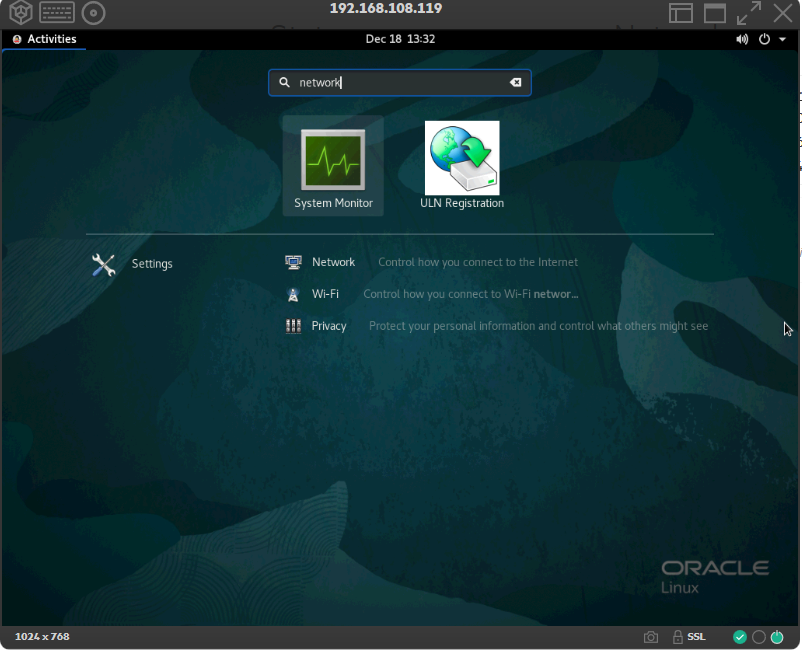
Once login to the server, Search the network & proceed further.
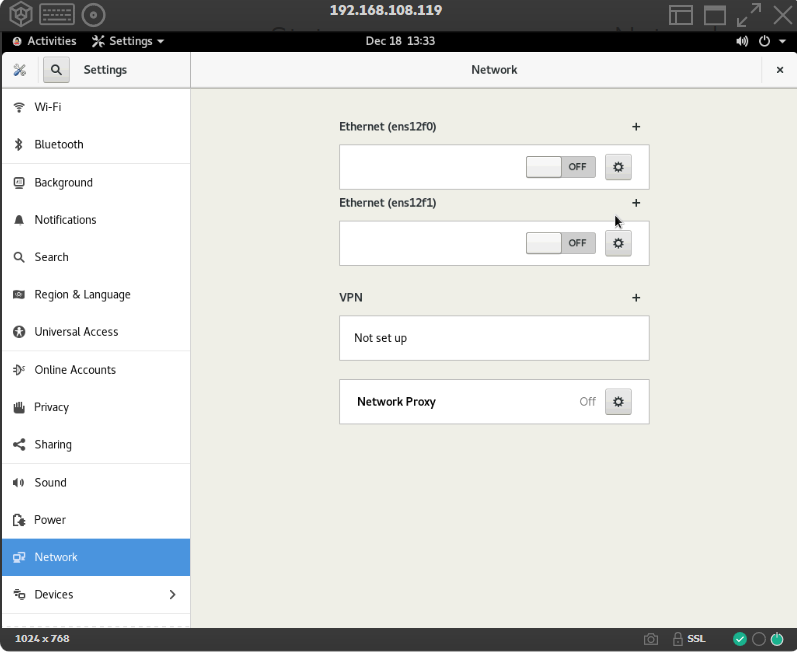
Select the Ethernet Setting option & proceed to the next step
Select Manual & Assign the IP Address, Netmask & Gateway then Apply

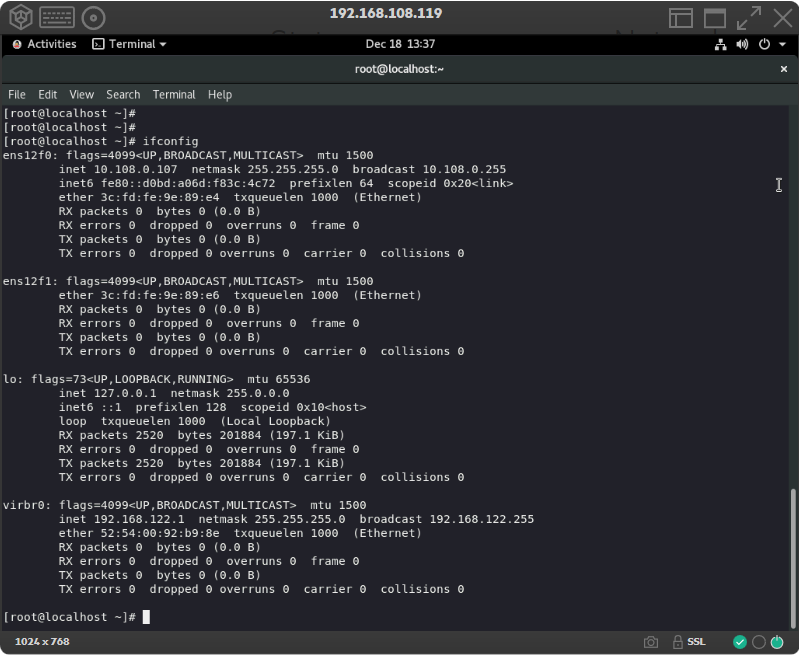
Once configured then On the Ethernet Option, Click the ON option to activate the interface.

Therefore the network configuration is completed & verify
==Hence Completed the Installation of the Oracle Linux 8.2 (64 bit) along with Network Configuration==