


Install & Configure the Oracle Database 11gR2 on Centos/Oracle linux 7
Posted by Mir Sayeed Hassan on June 19th, 2021
Install & Configure the Oracle Database 11gR2 on Centos 7
To install, you need to download the software available from the OTN, edelivery or Oracle Support Login.
Download the below DB Software files for Oracle 11gR2 (11.2.0.4) & Unzip of specific directory.
Downloaded files.
linux.x64_11gR2_database_1of2.zip
linux.x64_11gR2_database_2of2.zip
Login to the root & issue the below setup
Setup the hostname under the /etc/hosts by using root privilege.
[root@miroradb ~]# vi /etc/hosts
127.0.0.1 localhost localhost.localdomain localhost4 localhost4.localdomain4
::1 localhost localhost.localdomain localhost6 localhost6.localdomain6
5.253.27.127 miroradb.novalocal
:wq
Install the pre-requites “oracle-rdbms-server-11gR2-preinstall” package & yum update
# yum install oracle-rdbms-server-11gR2-preinstall
# yum update
Add the following lines to set the kernel parameters “/etc/sysctl.conf” file.
[root@miroradb ~]# vi /etc/sysctl.conf
fs.aio-max-nr = 1048576
fs.file-max = 6815744
kernel.shmall = 2097152
kernel.shmmax = 536870912
kernel.shmmni = 4096
kernel.sem = 250 32000 100 128
net.ipv4.ip_local_port_range = 9000 65500
net.core.rmem_default = 262144
net.core.rmem_max = 4194304
net.core.wmem_default = 262144
net.core.wmem_max = 1048586
Run the following command to change the current kernel parameters.
[root@miroradb ~]# /sbin/sysctl –p
Add the following lines to set the shell limits for oracle user “/etc/security/limits.conf” file.
[root@miroradb ~]# vi /etc/security/limits.conf
oracle   soft   nproc    131072
oracle   hard   nproc    131072
oracle   soft   nofile   131072
oracle   hard   nofile   131072
oracle   soft   core     unlimited
oracle   hard   core     unlimited
oracle   soft   memlock  50000000
oracle   hard   memlock  5000000
:wq
Add the following line to the “/etc/pam.d/login” file
[root@miroradb ~]# vi  /etc/pam.d/login
session    required     pam_limits.so
:wq
Install the Require RPM package as recommended by Oracle
yum install binutils -y
yum install compat-libstdc++-33 -y
yum install compat-libstdc++-33.i686 -y
yum install gcc -y
yum install gcc-c++ -y
yum install glibc -y
yum install glibc.i686 -y
yum install glibc-devel -y
yum install glibc-devel.i686 -y
yum install libgcc -y
yum install libgcc.i686 -y
yum install libstdc++ -y
yum install libstdc++.i686 -y
yum install libstdc++-devel -y
yum install libstdc++-devel.i686 -y
yum install libaio -y
yum install libaio.i686 -y
yum install libaio-devel -y
yum install libaio-devel.i686 -y
yum install libXext -y
yum install libXext.i686 -y
yum install libXtst -y
yum install libXtst.i686 -y
yum install libX11 -y
yum install libX11.i686 -y
yum install libXau -y
yum install libXau.i686 -y
yum install libxcb -y
yum install libxcb.i686 -y
yum install libXi -y
yum install libXi.i686 -y
yum install make -y
yum install sysstat -y
yum install unixODBC -y
yum install unixODBC-devel -y
yum install zlib-devel –y
yum install ksh -y
yum install elfutils-libelf-devel –y
yum install xauth* or *xauth*
yum install xdpinfo*
yum install xhost+*
yum install xclock*
Create the require groups and users.
[root@miroradb ~]# groupadd -g 54321 oinstall
[root@miroradb ~]# groupadd -g 54322 dba
[root@miroradb ~]# groupadd -g 54323 oper
[root@miroradb ~]# groupadd -g 54324 backupdba
[root@miroradb ~]# groupadd -g 54325 dgdba
[root@miroradb ~]# groupadd -g 54326 kmdba
[root@miroradb ~]# groupadd -g 54327 asmdba
[root@miroradb ~]# groupadd -g 54328 asmoper
[root@miroradb ~]# groupadd -g 54329 asmadmin

[root@miroradb ~]# useradd -g oinstall -G dba,oper oracle
Set the password for the “oracle” user.
[root@miroradb ~]# passwd oracle
passwd: *******
Change the secure Linux to permissive by editing the “/etc/selinux/config” file
SELINUX=permissive
Command to update the changes
[root@miroradb ~]# setenforce Permissive
Stop & Disable the firewall
[root@miroradb ~]# systemctl stop firewalld
[root@miroradb ~]# systemctl disable firewalld
Create the directories structure
[root@miroradb ~]# mkdir -p /u01/app/oracle/product/11.2.0.4/db_1
[root@miroradb ~]# chown -R oracle:oinstall /u01
[root@miroradb ~]# chmod -R 775 /u01
Add the following lines at the end of the “/home/oracle/.bash_profile” file.
TMP=/tmp; export TMP
TMPDIR=$TMP; export TMPDIR
ORACLE_HOSTNAME=miroradb.novalocal; export ORACLE_HOSTNAME
ORACLE_UNQNAME=mirtdb; export ORACLE_UNQNAME
ORACLE_BASE=/u01/app/oracle; export ORACLE_BASE
ORACLE_HOME=$ORACLE_BASE/product/11.2.0.4/db_1; export ORACLE_HOME
ORACLE_SID=mirtdb; export ORACLE_SID
ORACLE_TERM=xterm; export ORACLE_TERM
PATH=/usr/sbin:$PATH; export PATH
PATH=$ORACLE_HOME/bin:$PATH; export PATH
LD_LIBRARY_PATH=$ORACLE_HOME/lib:/lib:/usr/lib; export LD_LIBRARY_PATH
CLASSPATH=$ORACLE_HOME/JRE:$ORACLE_HOME/jlib:$ORACLE_HOME/rdbms/jlib; export CLASSPATH
Installation
Login to the oracle user & use the X emulation to set up the DISPLAY or use the local xming & enable the x11.
DISPLAY=<machine-name>:0.0; export DISPLAY
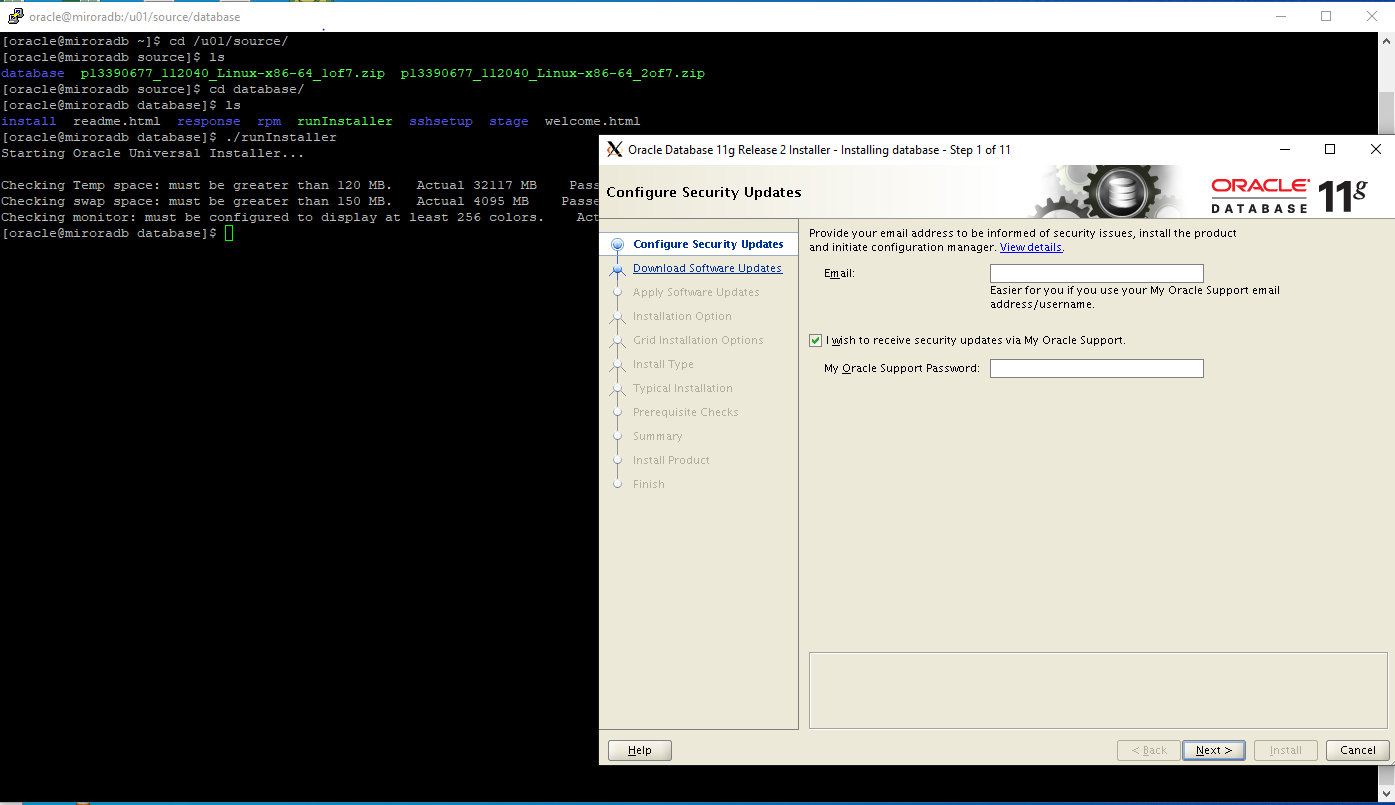
Start the OUI Process
[oracle@miroradb ~]$ cd /u01/source/
[oracle@miroradb ~]$ unzip p13390677_112040_Linux-x86-64_1of7.zip
[oracle@miroradb ~]$ unzip p13390677_112040_Linux-x86-64_2of7.zip
[oracle@miroradb source]$ ls
database  p13390677_112040_Linux-x86-64_1of7.zip  p13390677_112040_Linux-x86-64_2of7.zip
[oracle@miroradb source]$ cd database/
[oracle@miroradb database]$ ls
install  readme.html  response  rpm  runInstaller  sshsetup  stage  welcome.html
[oracle@miroradb database]$ ./runInstaller


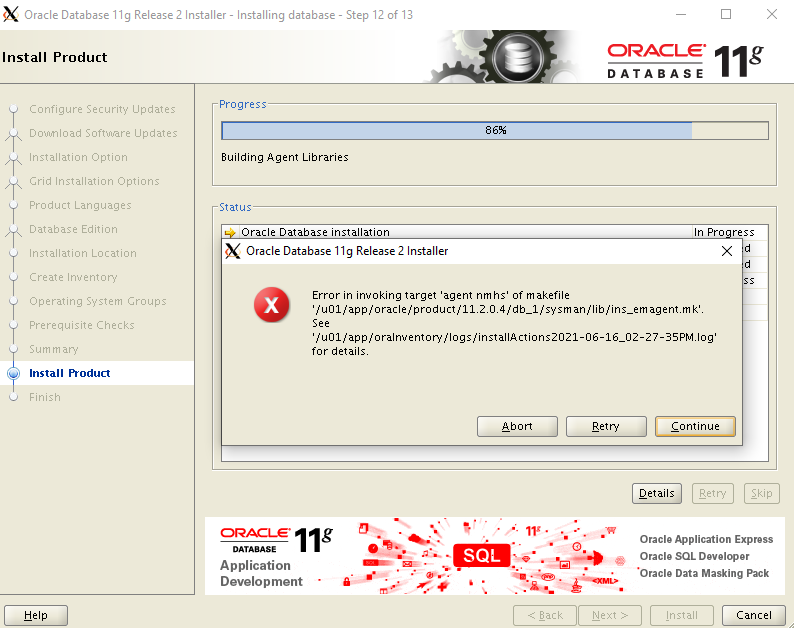

Note:
While installation., If you come across the error invoking the “ins_emagent.mk” file. Then edit the “$ORACLE_HOME/sysman/lib/ins_emagent.mk” & change as shown below
[root@miroradb ~]# vi /u01/app/oracle/product/11.2.0.4/db_1/sysman/lib/ins_emagent.mk

FROM:
#$(MK_EMAGENT_NMECTL)
#The below parameter is changed due to the error while installation of Oracle, Changed by Mirs
$(MK_EMAGENT_NMECTL) -lnnz11
Click the “Retry” button to proceed installation.
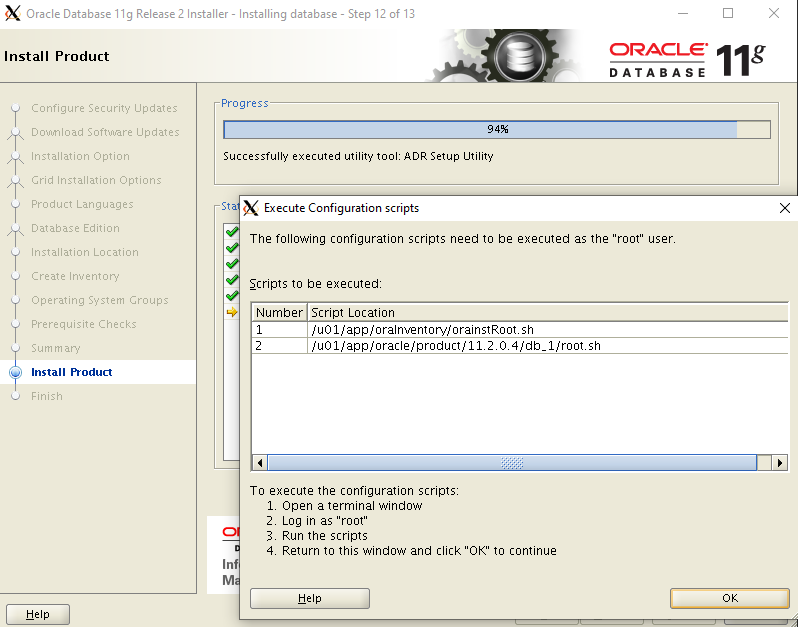
Run the below scripts by using the root login.
[root@miroradb ~]# /u01/app/oraInventory/orainstRoot.sh
Changing permissions of /u01/app/oraInventory.
Adding read,write permissions for group.
Removing read,write,execute permissions for world.
Changing groupname of /u01/app/oraInventory to oinstall.
The execution of the script is complete.
[root@miroradb ~]# /u01/app/oracle/product/11.2.0.4/db_1/root.sh
Performing root user operation for Oracle 11g
The following environment variables are set as:
    ORACLE_OWNER= oracle
    ORACLE_HOME=  /u01/app/oracle/product/11.2.0.4/db_1
Enter the full pathname of the local bin directory: [/usr/local/bin]: y
Creating y directory...
   Copying dbhome to y ...
   Copying oraenv to y ...
   Copying coraenv to y ...
Creating /etc/oratab file...
Entries will be added to the /etc/oratab file as needed by
Database Configuration Assistant when a database is created
Finished running generic part of root script.
Now product-specific root actions will be performed.
Finished product-specific root actions.
Click ok & close to complete installation process
===== Hence the installation of the Oracle 11gr2 Software is completed=====
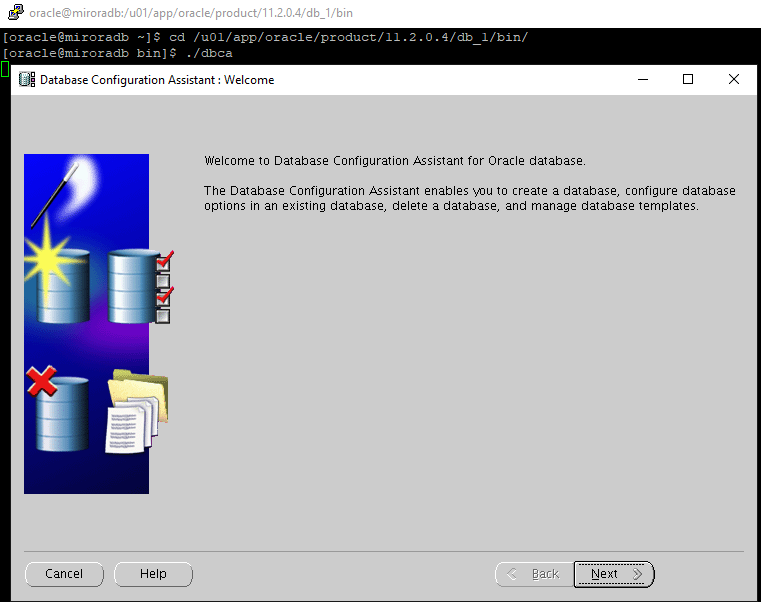
INSTALLATION OF THE ORACLE 11gR2 DATABASE
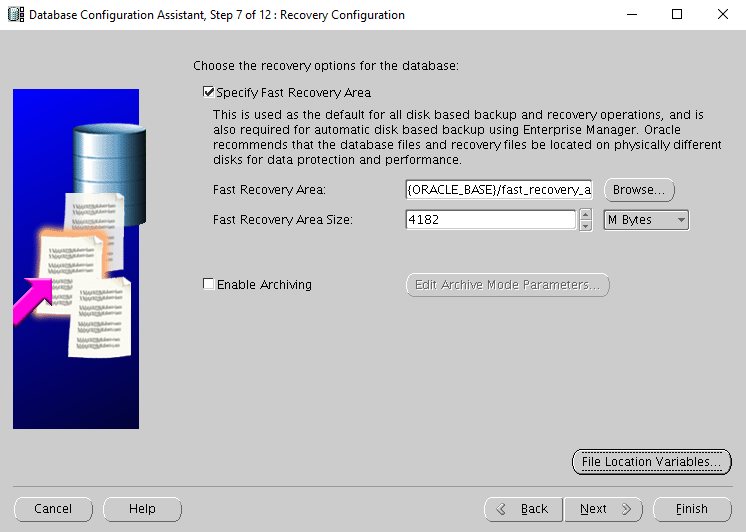
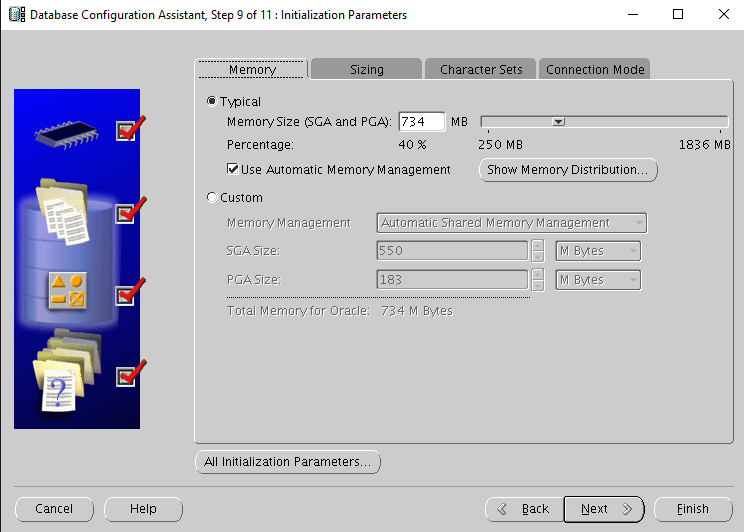
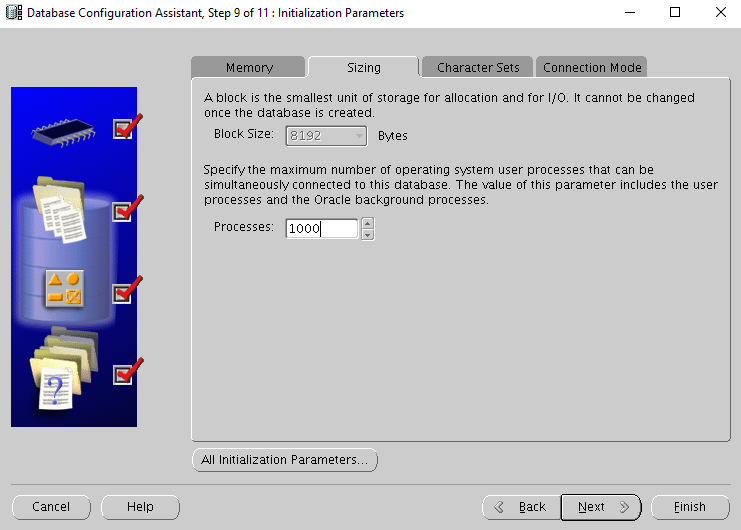
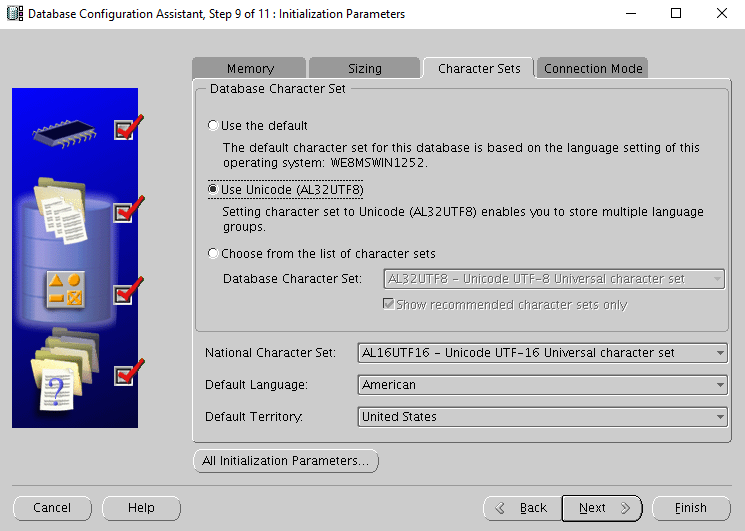
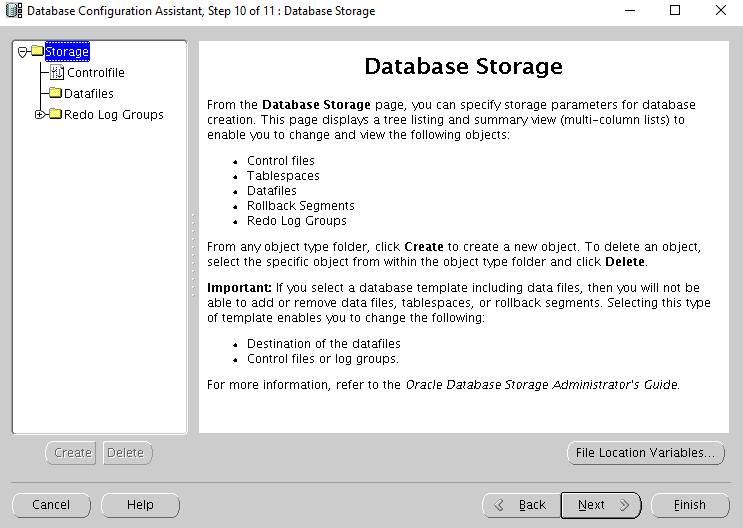
To install the Oracle Database, you can use the DBCA or Manual method.
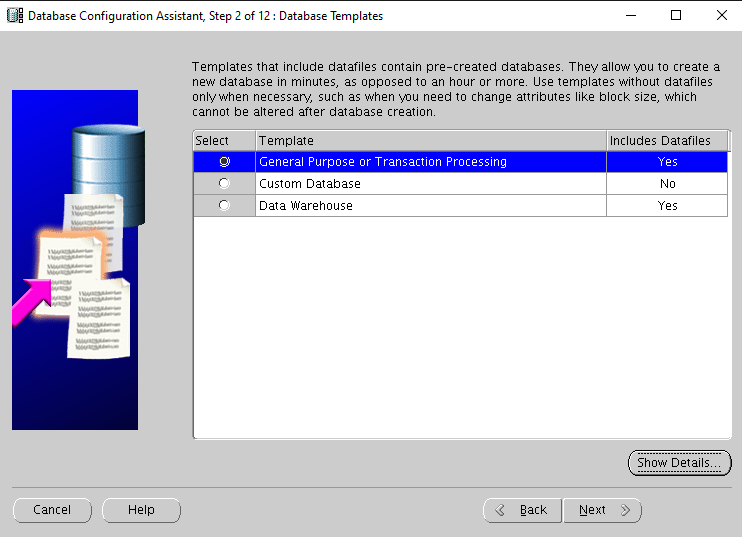
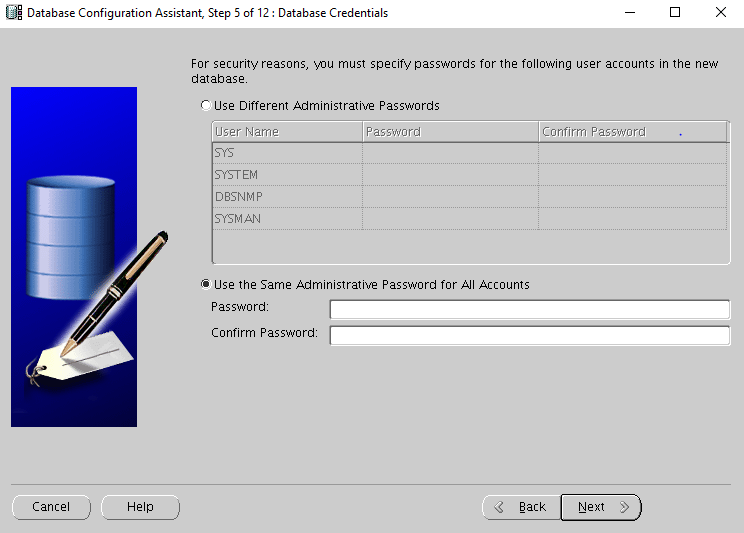
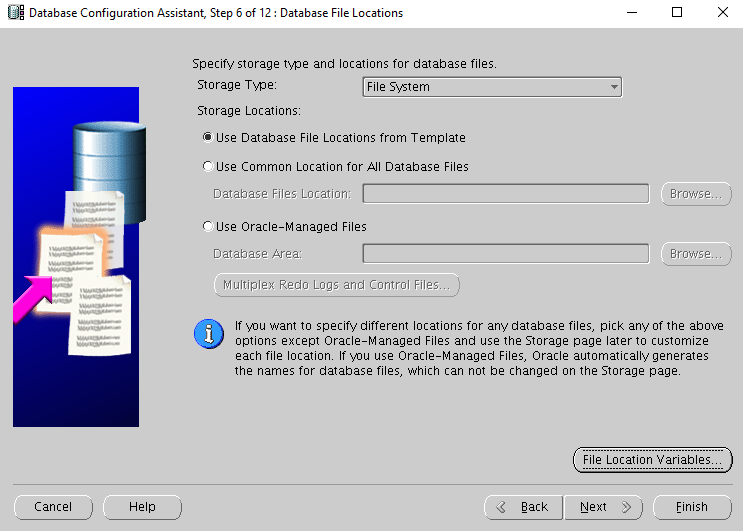
In my case I have used the DBCA method to create the DB., Please find the below Step by Step creation process.


After the creation of database., update the /etc/oratab file
Edit the "/etc/oratab" file setting the restart flag for each instance to 'Y'.
mirtdb:/u01/app/oracle/product/11.2.0.4/db_1:Y